Star Fortress Building Instructions Page 3
 |
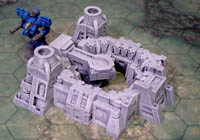 The Reactor |
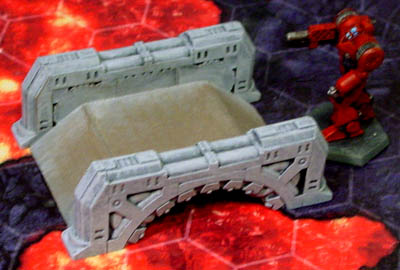
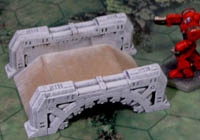 Small Bridge |
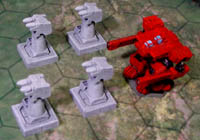 Missile Launchers |
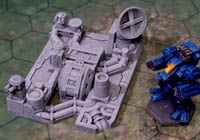 Comm Station |
 Small Generator |
 |
To build all of the items shown here, you will need 12 castings of each of the following molds:
#312 Star Fortress Mold A, #313 Star Fortress Mold B, #314 Star Fortress Mold C and #275 Techno Floor Mold.
 You will need this parts list to build these items!
Click on the icon on the right to bring up a PDF file of the parts list. These are all of the parts from molds #312 (mold A), 313 (mold B) and 314 (mold C).
The reference numbers of these parts are referred to in the instructions and also the videos.
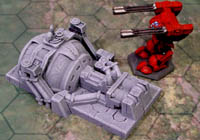
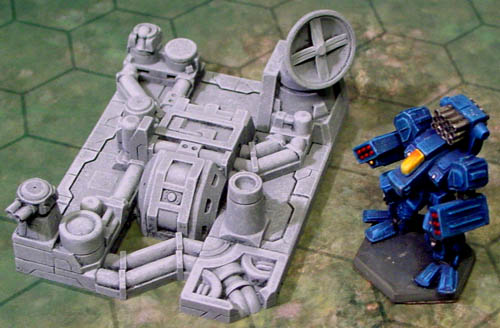
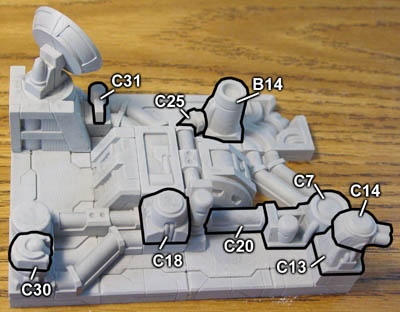
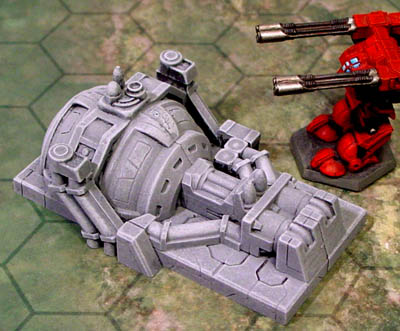
The Reactor
| 30. | Parts List Part# - Quantity
|
 |
|---|
| 31. | 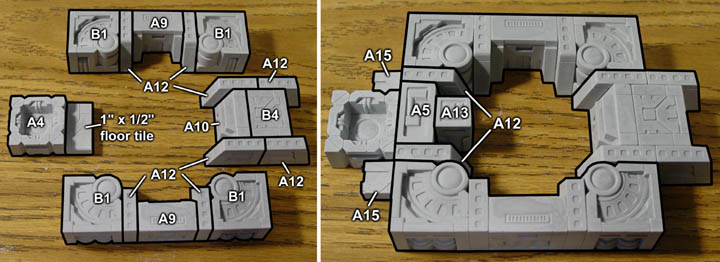 |
|---|
| 32. | 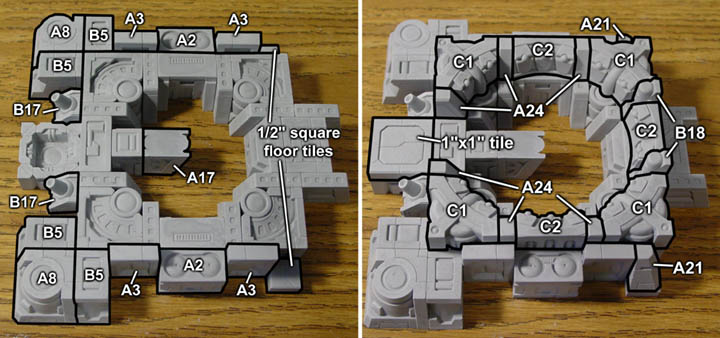 |
|---|
| 33. | 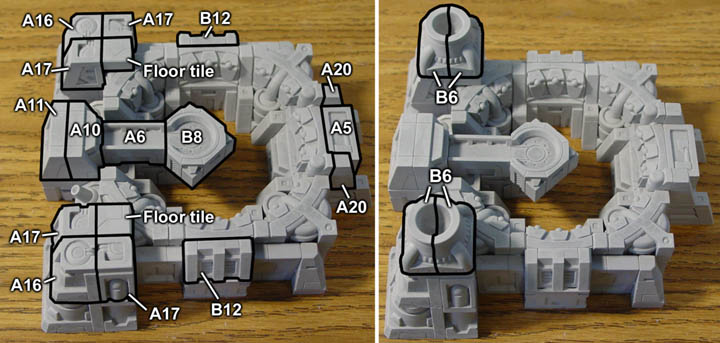 |
|---|
Small Bridge
| 34. | Parts List Part# - Quantity
|
 |
|---|
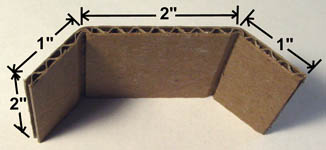
| 35. | Cut a 2" x 4" piece of cardboard to make the floor of the bridge. I would suggest keeping the corrugation the same direction as shown here. Fold 1" on each end of the bridge down as shown. |
 |
|---|
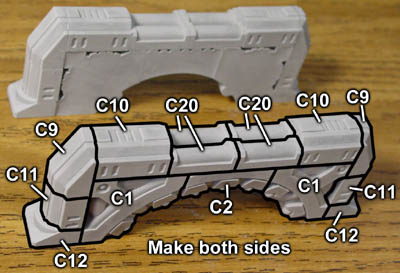
| 36. | Glue together both sides of the bridge. The insides will not have as much details as the outsides. Make 2 sides for the bridge. Then glue the floor in place as low as possible without showing a gap from the low arch. 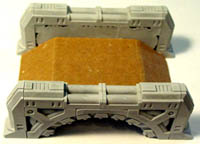 |
 |
|---|
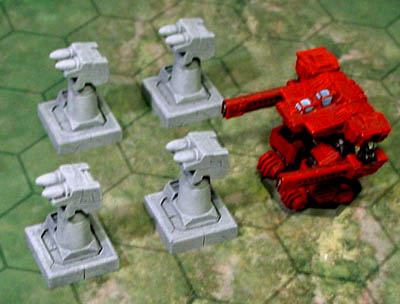
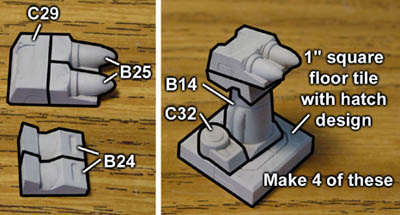
Small Missile Launchers
| 37. | Parts List Part# - Quantity
|
 |
|---|
| 38. | Glue two small missiles onto the C29 block as shown. The B24 blocks are glued underneath the missiles. This will make the missiles point upwards slightly. Glue the B14 and C32 onto a 1" square floor tile, the one that looks like it has a hatch door on it. Make 4 of these missile launchers. |
 |
|---|
Small Comm Station
| 39. | Parts List Part# - Quantity
|
 |
|---|
| 40. | 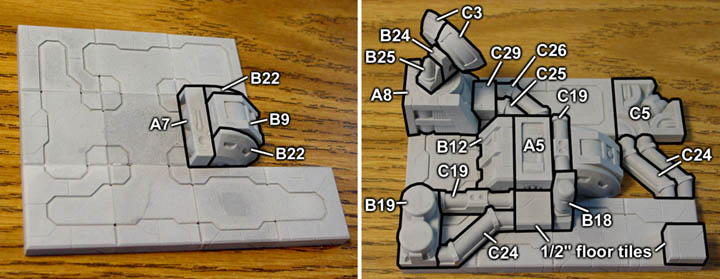 |
|---|
| 41. | In the first photo (above), the B9 block is sandwiched between the two B22 blocks. In the upper right photo, the C29 block is flipped so the angled side matches the angle of the A8 block. This will give a flat surface for the C25 and C26 pipes to set against. In the right photo, the C25 block is partly hidden. The unseen end rests against the A7 block pictured in the very first photo. |
 |
|---|
Small Generator
| 42. | Parts List Part# - Quantity
|
 |
|---|
| 43. | 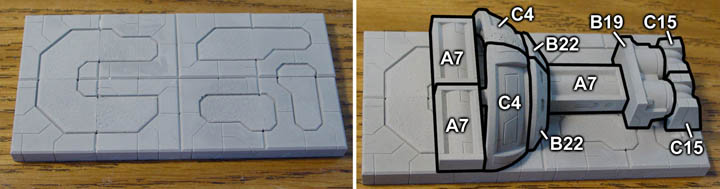 |
|---|
| 44. | 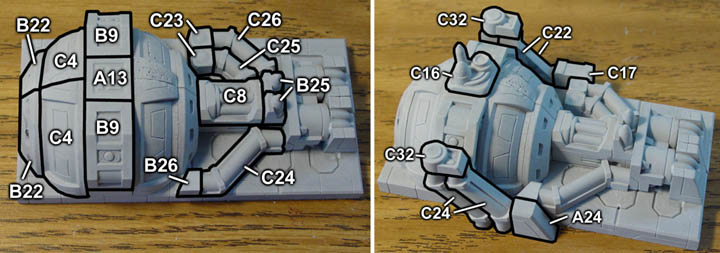 |
|---|